We have been hoping
to move....that is going so slowly we have had some developmental
issues to deal with! Yes our tiny rescued volunteer tomato plants
from the garden are now far too big for their pots. Ralph decided to
move them to pails and then stake them so here are the stages they
went through to get a new place to grow.
1- We decided to use
the tall 6 gallon buckets that Ralph gets from work. They are for
Lecithin which has to be added to bread dough to help bring the
nutrition level up.

2- Lecithin is
sticky and hard to wash out, we found it seems to be just fine if we
leave the residue in the bottom of the bucket when we add the potting
soil.

3- Prepare the
bucket by drilling holes along the bottom. See this previous post.
4- Ralph then put a
gallon or so of potting soil into the bucket and forms a small bowl
shape to set the root ball into. He wants to bury the tomato quite
deep so it will develop a super strong root system but he does not
want it to go directly onto the bottom of the bucket.

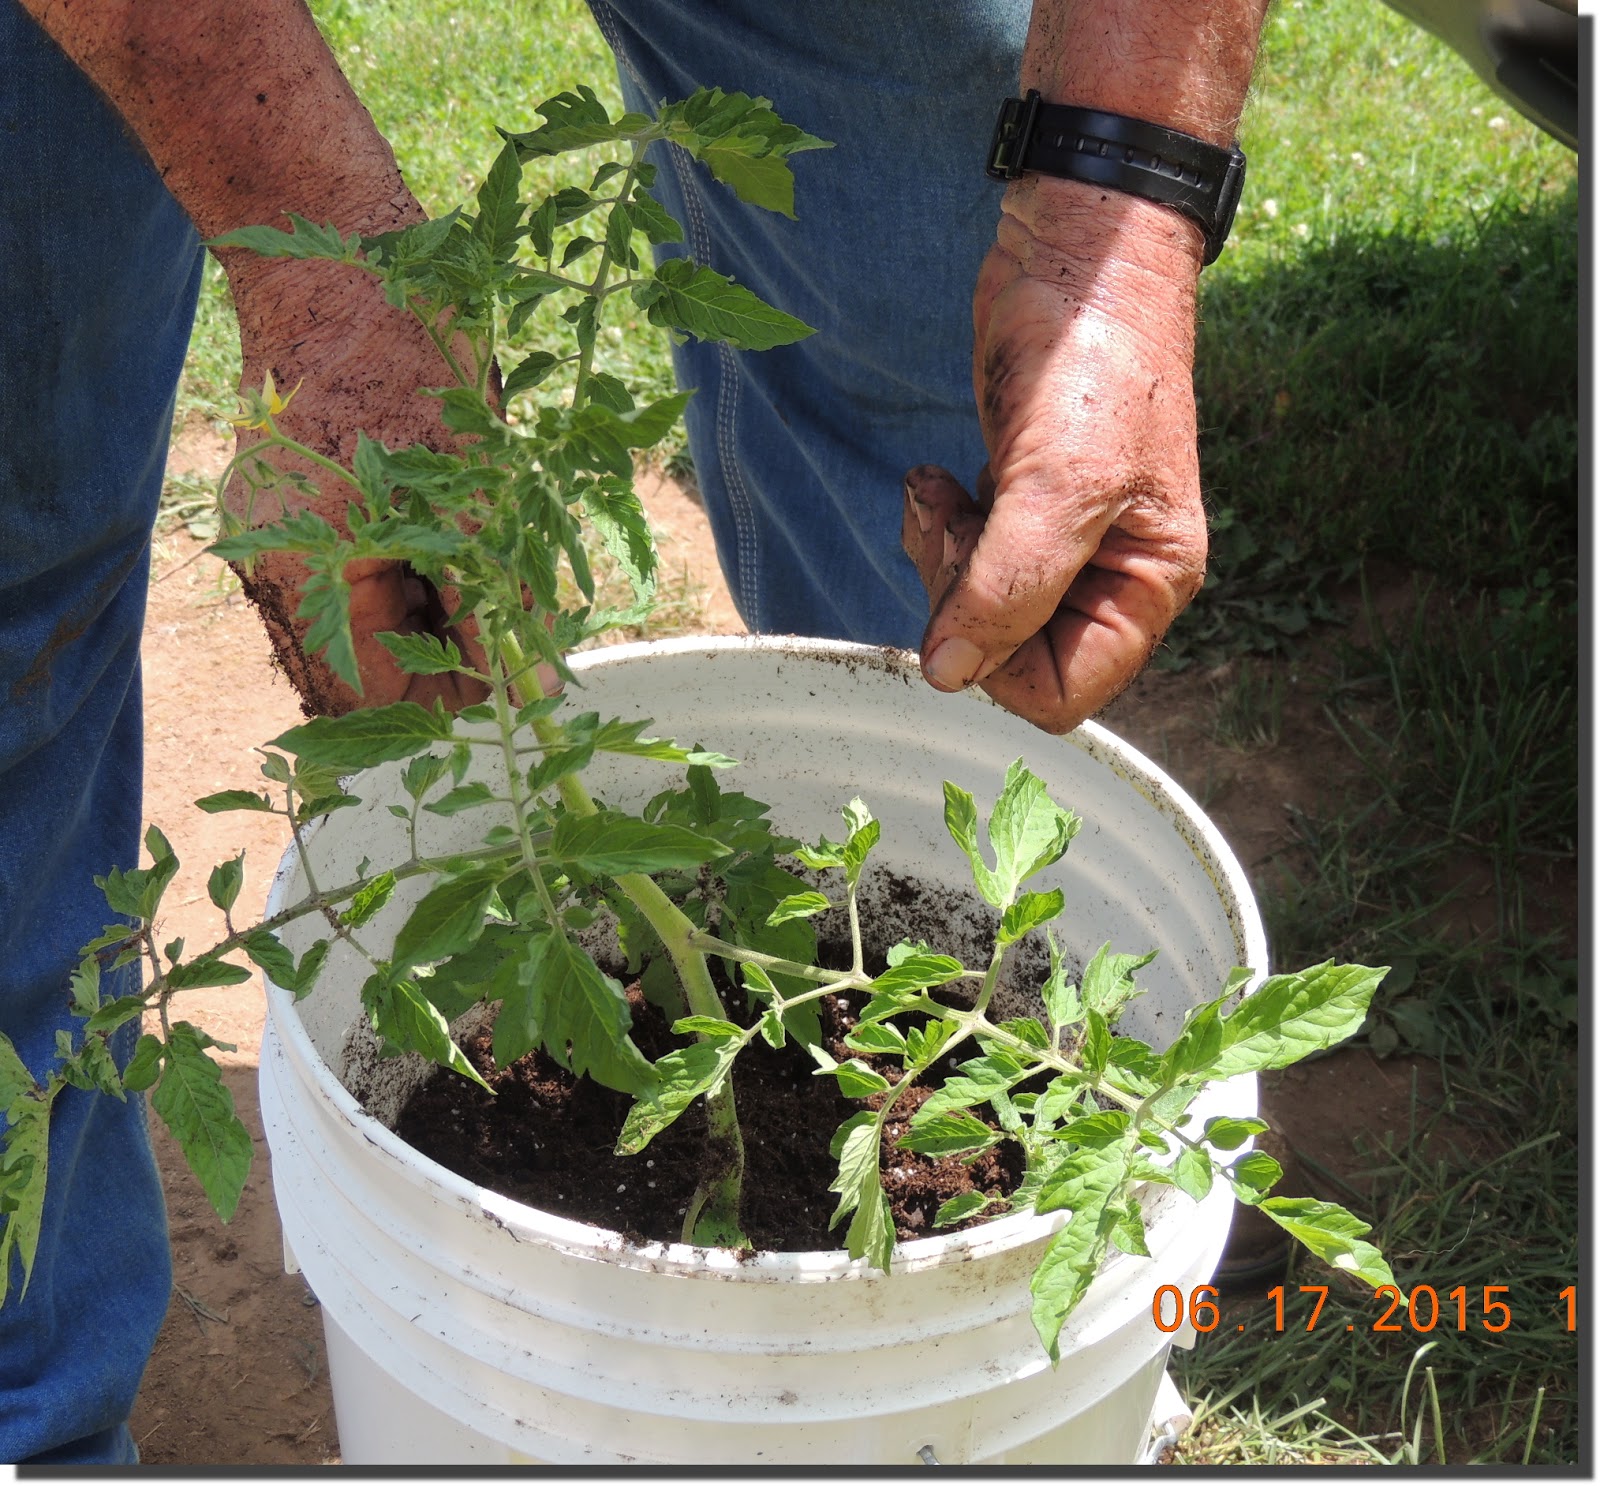
5- He removes the
plant from its pot by firmly but gently gripping the strong part of
the stem not too far from the soil. He will squeeze the pot as he
does this to loosen the root ball inside the container. He pulls
upward on the plant and pulls gently downward on the pot.

6- Here is the
healthy root ball. You can see clearly this plant has good root
growth but was needing to be repotted before it really became root
bound.

7- Now lower the
plant into the bucket. It always seems to go far too deep into the
bucket but tomatoes do very well deep planted like this, all along
the stem where there are little hairs or bumps roots will develop.

8- Here you can see
the plant fully lowered into the bucket.

9- Gently move the
leaves to the side and protect them with your hand as you add the
potting soil mix. Compress the soil firmly as you continue to fill
the bucket. You can do this after you add a couple of containers at
at time. Do not fill the bucket all at once.

10- Here Ralph is
using his hands to push down on the soil. He does this around the
outside of the bucket, not next to the plant.

11- Nearly full,
just adding the last bit of potting mix.

12- A newly repotted
tomato plant. With lots of room to grow and develop.

13- The final step
is to add a tomato stake. Ralph carefully slides one down the inside
of the bucket. We will tie to this stake as needed. I use strips of
old T-Shirt material or yarn to do this.

14- Now this tomato
moves to the front yard where instead of a tree lined driveway....we
have a tomato lined walkway!

15- Here is what
Ralph considers an excellent root ball, roots showing but not too
crowded and no sign of getting root bound. This stage is ideal to
transplant at.

16- Here is how
Ralph uses his fingers to pack around the root ball when he first
puts it down into the bucket. You can see how his fingers will go
between the bucket and the root ball without breaking the root ball
up.

17- Here is how he
holds his hands when he is past the root ball and wants to start
packing the soil around and over the root ball on the way to the top
of the bucket.
18- Now he is pushing down and compressing the soil to get a good firm support for
the tomato to grow in.

19- This shows how
deep the tomato stake should go into the bucket, right the full
depth.

20- I took this photo of the
stalk of a tomato that will be repotted. You can clearly see the
hairs and nodules on the stem. All these will become roots when it is
planted deep.

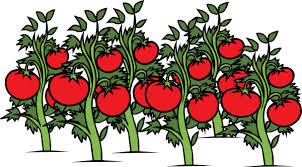
We hope this simple
tutorial is a help to anyone who has limited space or wants to be
able to grow tomato's in less than ideal locations. We have had good
results with our tomato buckets and look forward to this years crop.
Oh and if you wonder what variety these tomatoes are....we are wondering too. They are all volunteer plants Ralph found in the garden. We have records of where everything was planted but this only gives us a general idea of who they might be? Its going to be a bit like Christmas when they start getting ripe!
Happy gardening and
God bless.
Ingenious!!! Portable Veggie Garden! How fun to discover what tomato treasures await in just a few short weeks.
ReplyDeleteFiona - transplant my tomatoes twice and i do it just like Ralph. i start my tomatoes in little styrafoam cups as they seem to all come up at the same time (each variety i mean). then when they get to 2-3 weeks old, i transplant them into pots in the greenhouse and bury the root ball and as much of the tomatoe stalk as i can. they stay in the pots in the greenhouse and then around the 2nd week of june i transplant them into their plastic-wrapped tires outside. again i bury as much of the root ball and stalk as possible - just like Ralph. we had a bunch of volunteer tomatoes come up in the greenhouse so it will be interesting to see what variety they are. i am glad you got some volunteers and planted them. you'll definitely be enjoying some yummy tomatoes in a few weeks - woohoo!
ReplyDeletesending much love. your friend,
kymber
Great tutorial, Fiona. There are lots of people with limited space that will enjoy this information. Another added bonus will be the ease at which these tomatoes can move with you to your new home. We look forward to hearing all about it.
ReplyDeleteFern
I actually did this kind of planting the other day. I also planted mini tomatoes in containers. Nice job. Hug B
ReplyDeleteI just noticed I had not mentioned Ralph waters these new transplants very well...he uses a 30 Oz plastic cup we save from treats to use for watering. These large pails take two of these cups full of water when they are first transplanted. Regular and steady watering is the hardest thing to deal with when you plant in buckets. Tomatoes especially require a good supply of water. We are enjoying the comments very much!
ReplyDeleteExcellent tutorial! This is how I planted my tomatoes when I first moved to my place - the ground is almost solid rock, so the buckets stood in until I set up my raised beds. Now, if you move, so do your tomatoes - smart!
ReplyDeleteI love the idea of a tomato lined walkway!
ReplyDeleteHave you tried buckets? For your smaller acreage they might be useful. Last year I had buckets of herbs along the side walk and when we came in to the house or went out we always brushed the leaves and the smell was heavenly. It was perfect for getting herbs to cook with too!
Delete